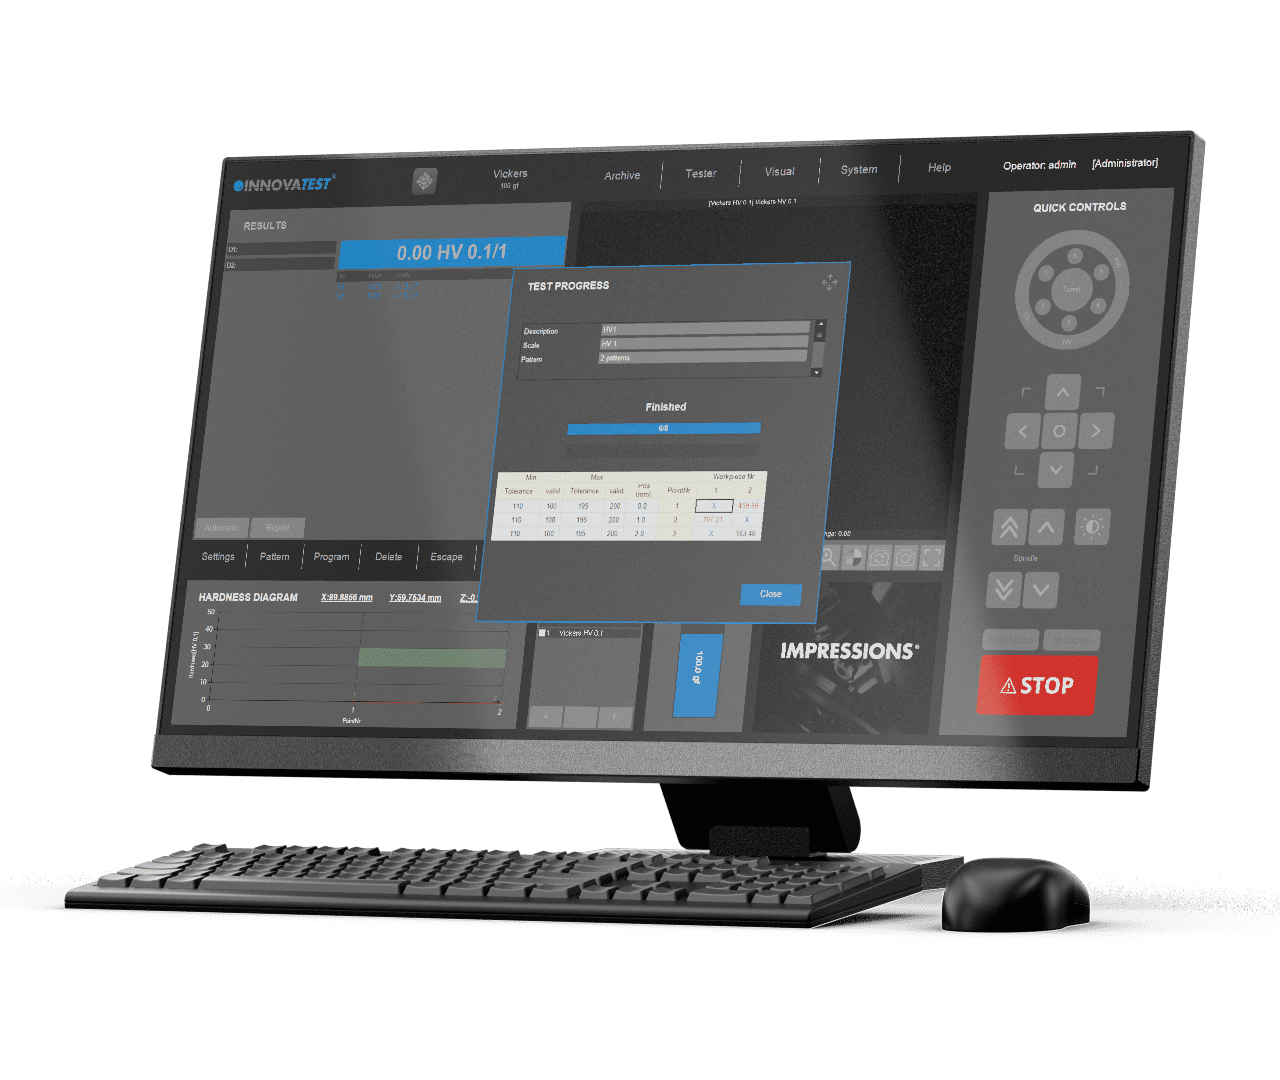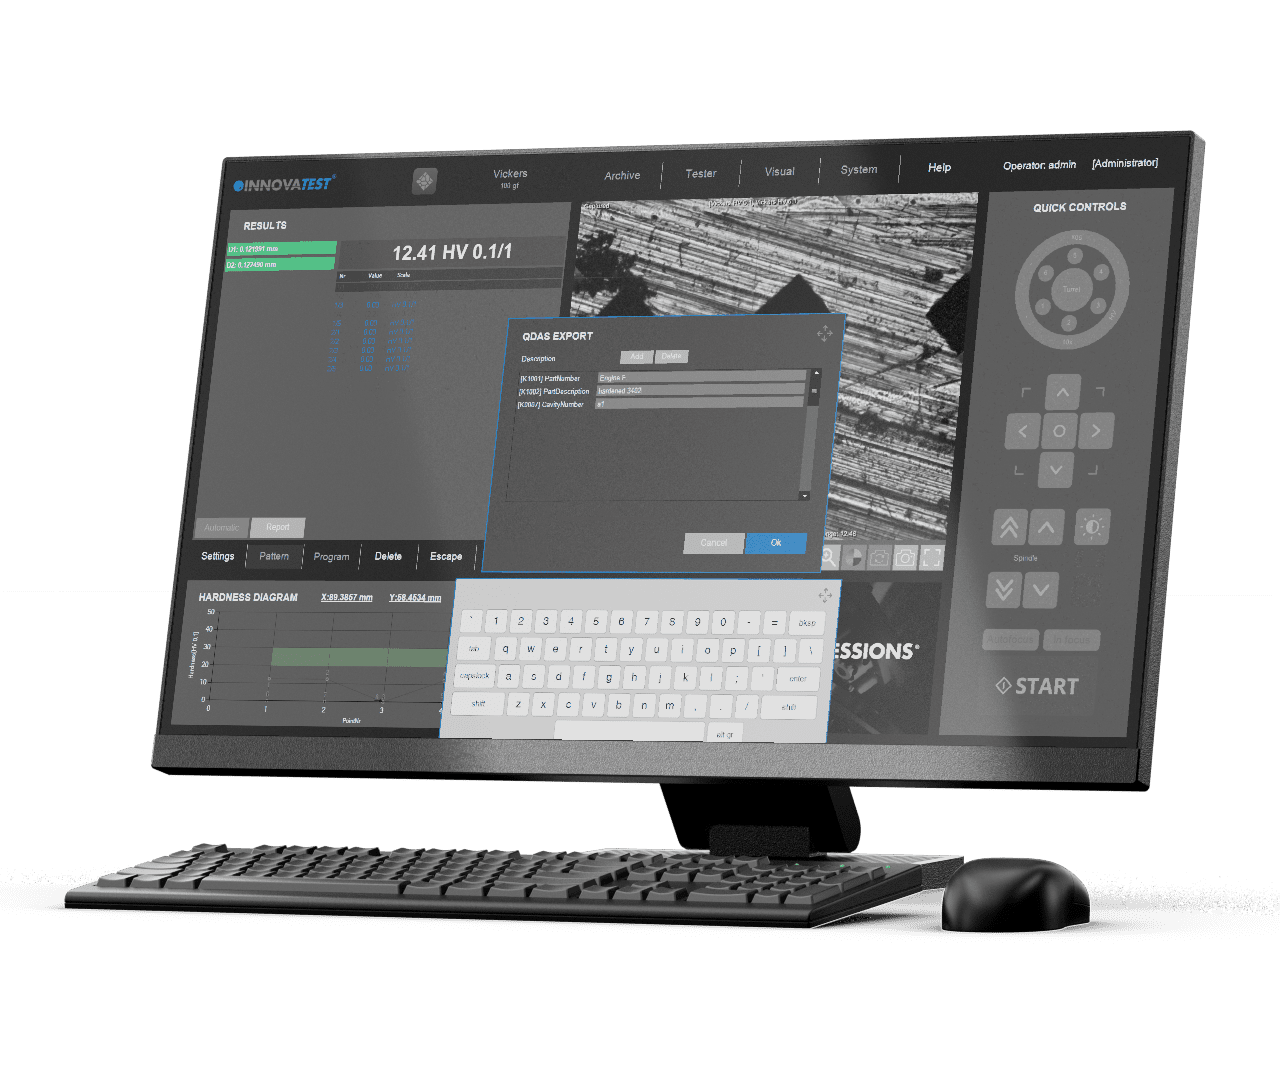

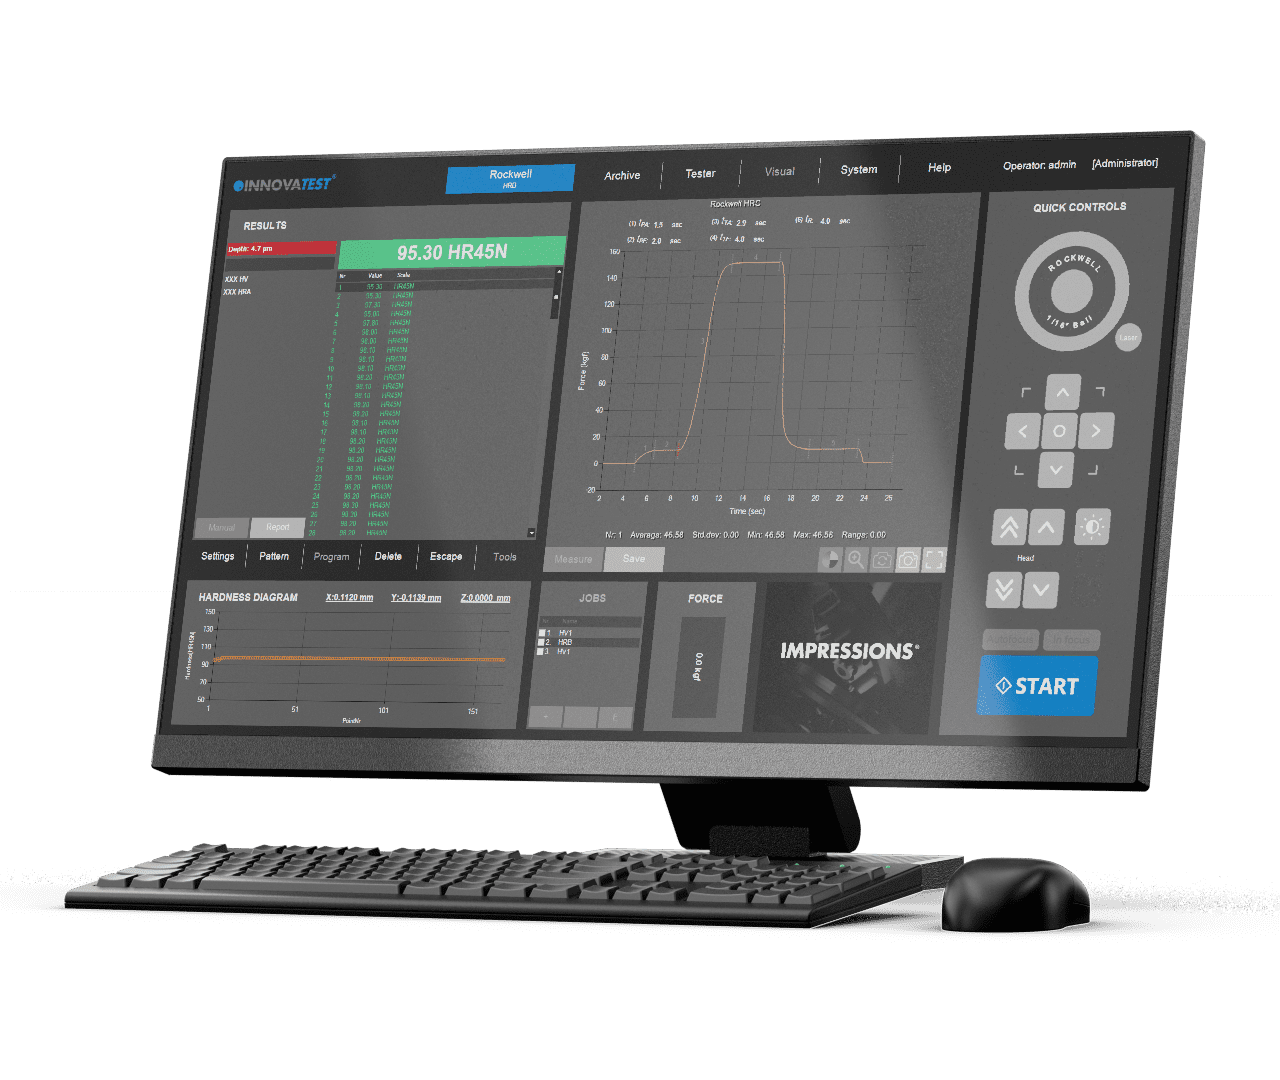
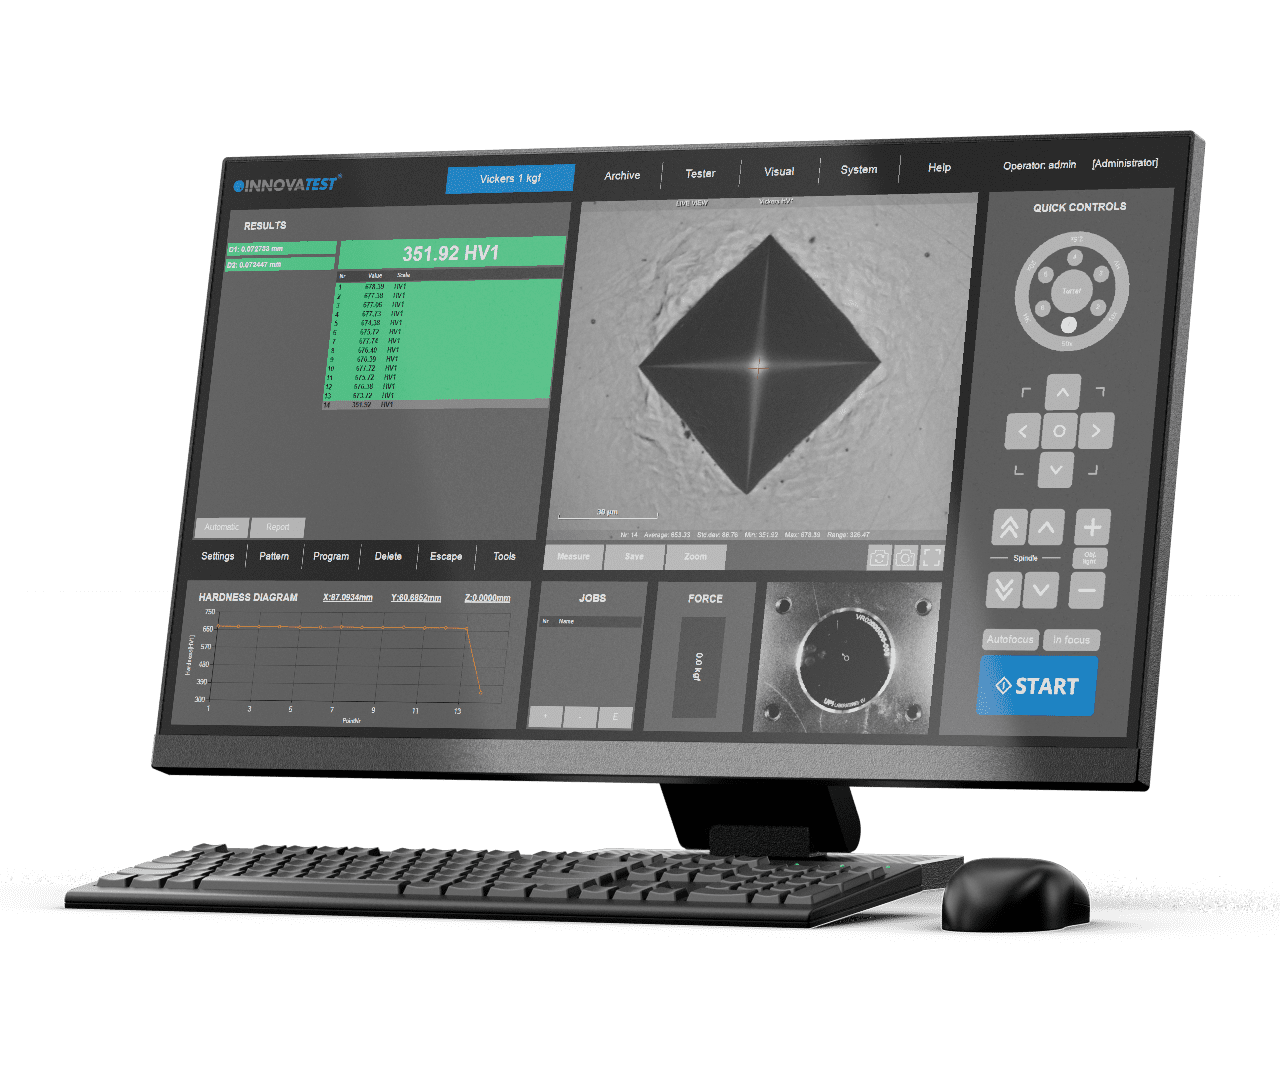
IMPRESSIONS™ Software, designed and built by INNOVATEST engineers to simplify the most complicated hardness testing requirements from many industries in the hardness testing field. Our GUI (Graphical User Interface) contains predesigned preferred applications, advanced workflow control, enhanced reporting and it is very easy to learn.
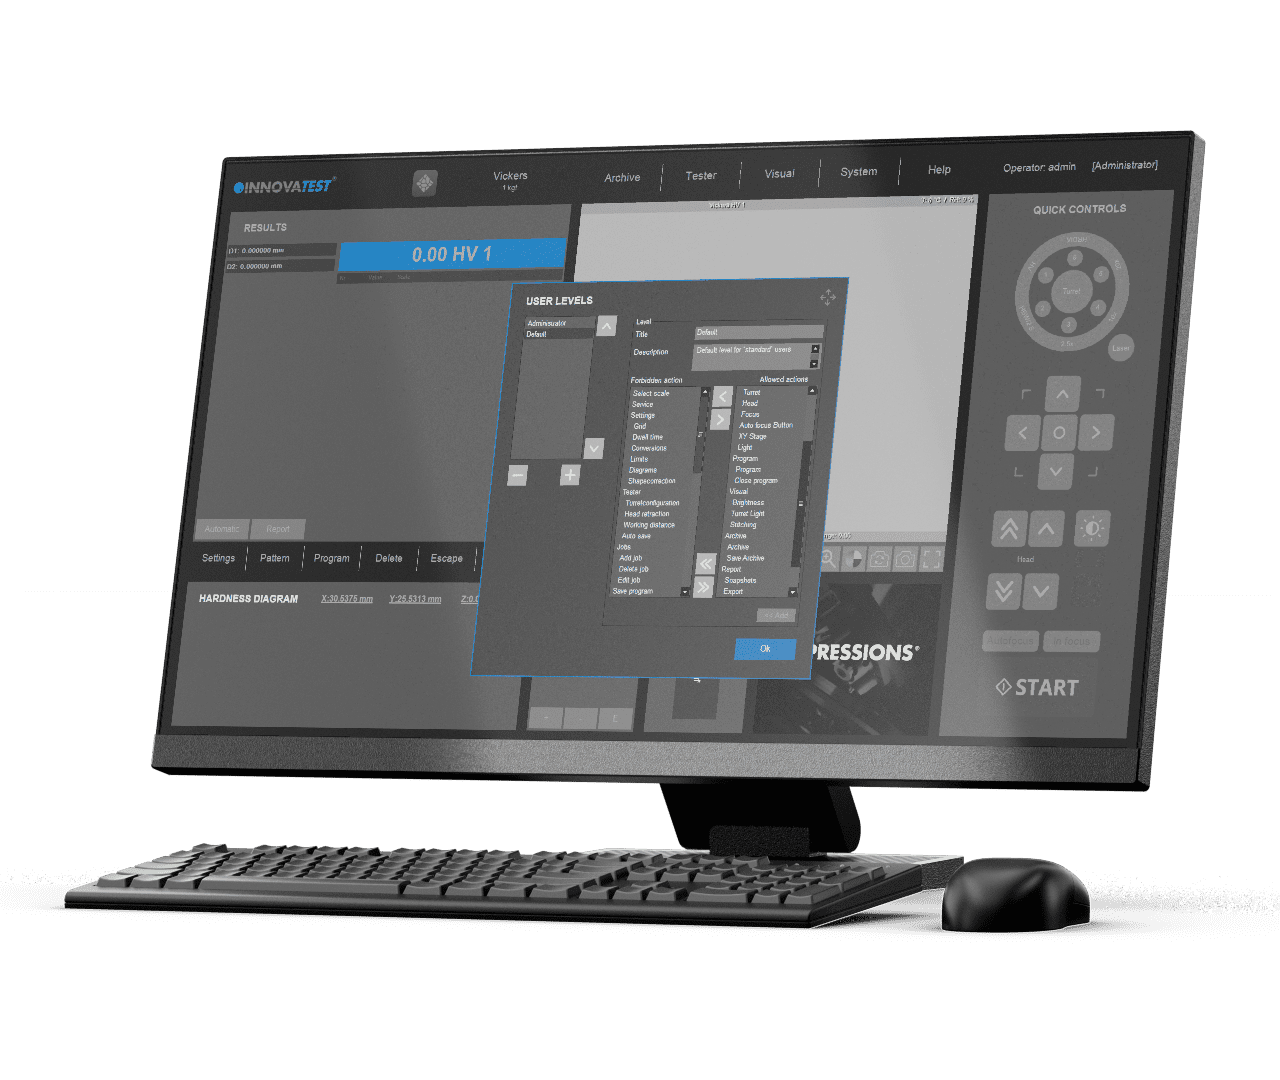
A simple test can be set up in 3 seconds, and the test that took all day to map out on the sample can be accomplished in under 10 minutes for the first time, then under a minute for each repeat performance. A user level management system maximizes repeatability and reproductivity across multiple operators.
The conventional image processing methods on hardness testing machines are fairly successful for clean images that present clear indentation boundaries. In practice, however, workpieces or samples often have rough surfaces that compromise the quality of the image processing which could potentially result in incorrect hardness values.
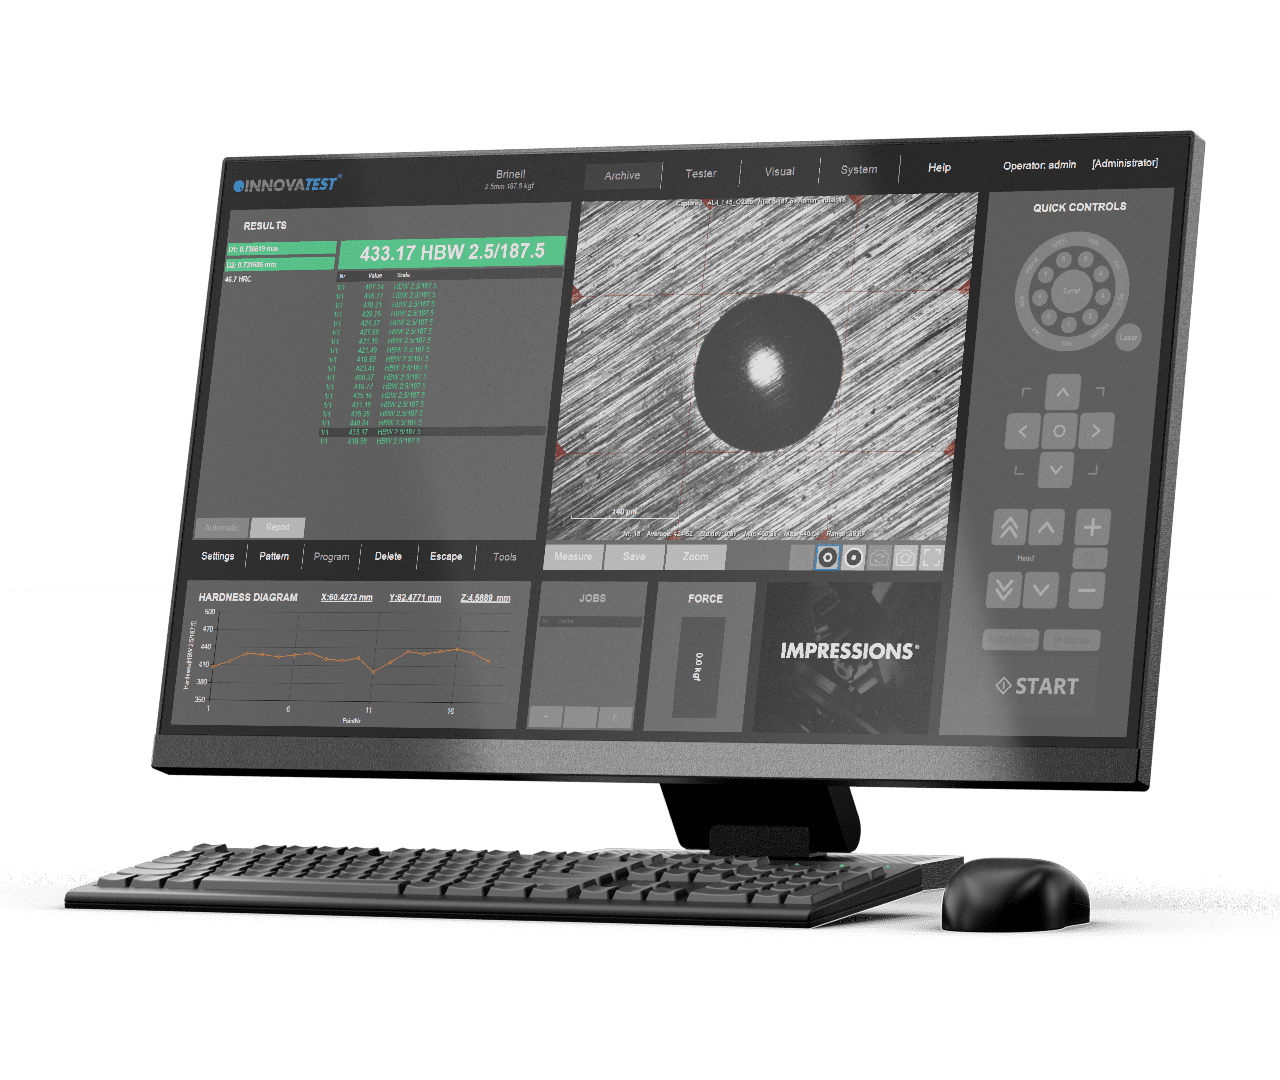
A human observer can easily find the indentation in both images and the exact boundaries of such indentation. For a computer algorithm, finding the indentation in the right image is much more challenging due to the many gradients in this image. Artificial intelligence can overcome this difficulty by training a complex computer neural network to “think” as a human observer.
The INNOVATEST Brinell AI model is trained in our research facility/R&D department using powerful supercomputers. The training phase optimizes millions and millions of weight factors in a neural network, to learn how an indent can look like, using a gradient descent approach. Weight factors have been optimized by a human observer and after optimum weigh factors where determined. Using the AI function on our hardness tester to detect new indentations is called ‘’inference’’ and requires significantly less computing power. The AI model has been created.
During inference, a new image (a new Brinell indent image) is entered into the neural network with weights that were determined during training. The complex algorithm is capable to calculate a “mask” on its own, this mask is plotted on top of the indent image, exactly filling the indent and marking the edges that then can be easily detected by automatic image recognition system.
This super advanced technology requires no special objectives and provides even indents with poor visibility, often the case with shallow indents in rough surface materials, to be perfectly detected and measured.
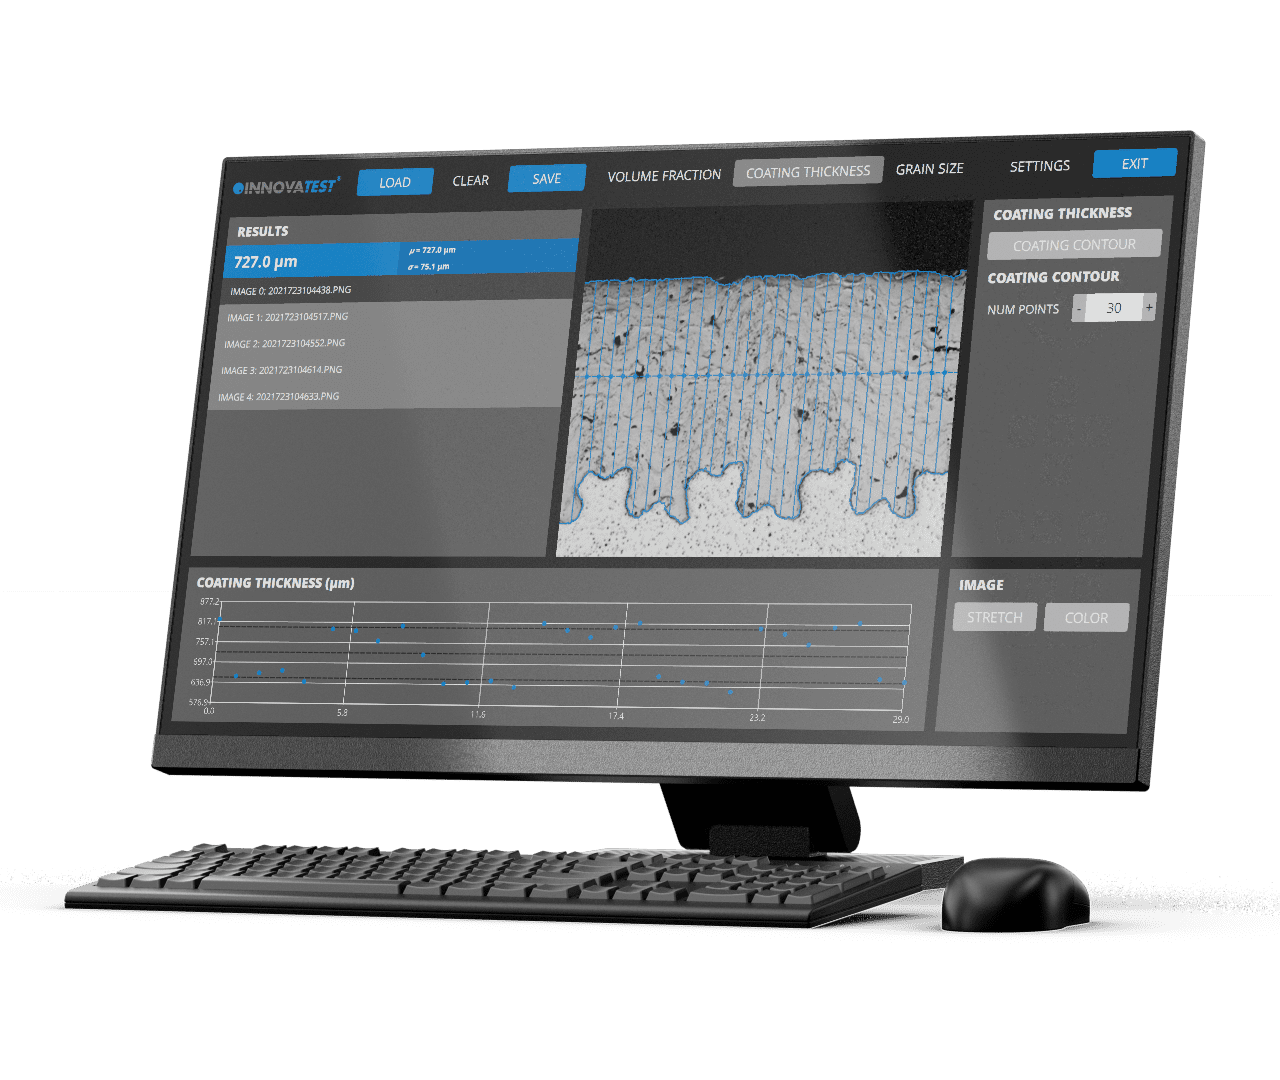
Metallography is used to investigate metals from copper and titanium to iron, steel and alloys of every description. These investigations can now be performed quantitatively and reliably using the INNOVATEST Metalloscope™ 1 software module, running on most of our higher-end hardness testing machines*. *(features of Metalloscope™ 1 software depend on the particular tester model).
The microstructure of metals has a significant influence on properties such as strength and corrosion resistance. Therefore, a detailed investigation of the microstructure with the help of microscopy is central to metallographical disciplines as well as many industrial applications.
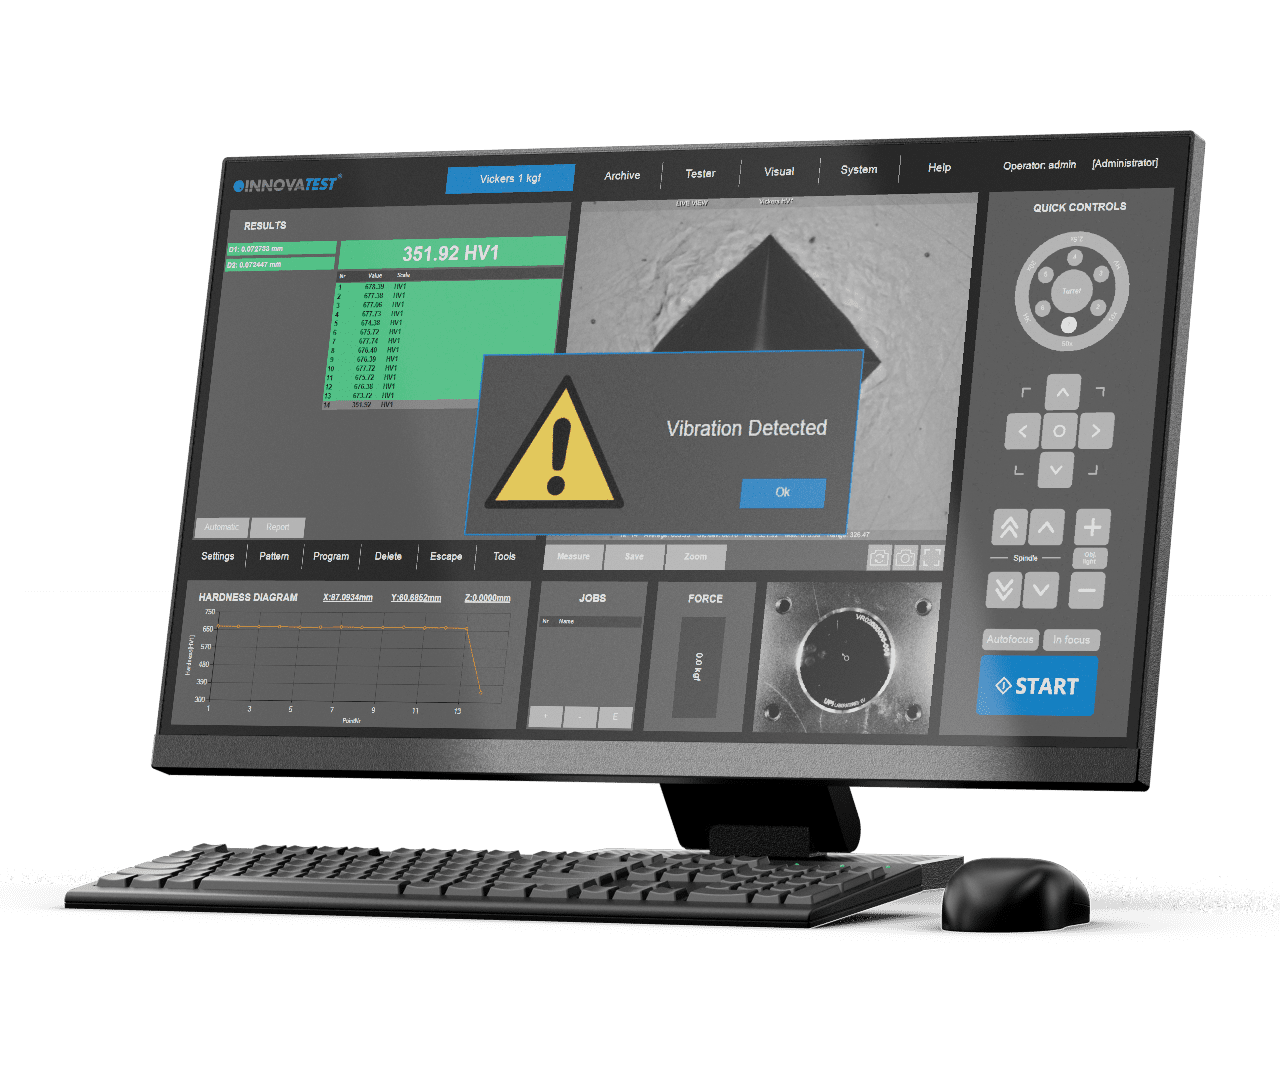
The integrated high precision accelerometer electronics continuously monitor your tester’s stability environment. While the tester has vibration isolators (machine dampers) installation environment is often not ideal. Think of heavy traffic, loaded fork lift trucks, excentre presses or other equipment making shop floor installation a base of trouble.
For certain countries/areas in the world where light earthquakes are so common that they are hardly noticed, the vibration monitoring system will give a warning message and stop the hardness testing process to avoid incorrect readings.
Extreme high or low temperatures might not only affect the hardness readings of your machine (think of installation in extremely warm countries or nearby furnaces) extreme humidity might even damage the sensitive electronics. That’s why we offer vibration, temperature and humidity monitoring.
The basic function of the barcode reader is to load data in to determined user fields. The BAR | QR code module of INNOVATEST connects the machine to a database or network environment loading samples and data.
Whether simply inserting header files (single or serial) or the complete integration of reading devices for the automatic selection of database templates, retrieving data from connected ERP or quality systems (optional) QR and barcode readers simplify complicated work procedures for the operator. The scanner loads all customer data in the hardness testing machine and assures that the testing outcome is included in the particular test report database, fully automatic.
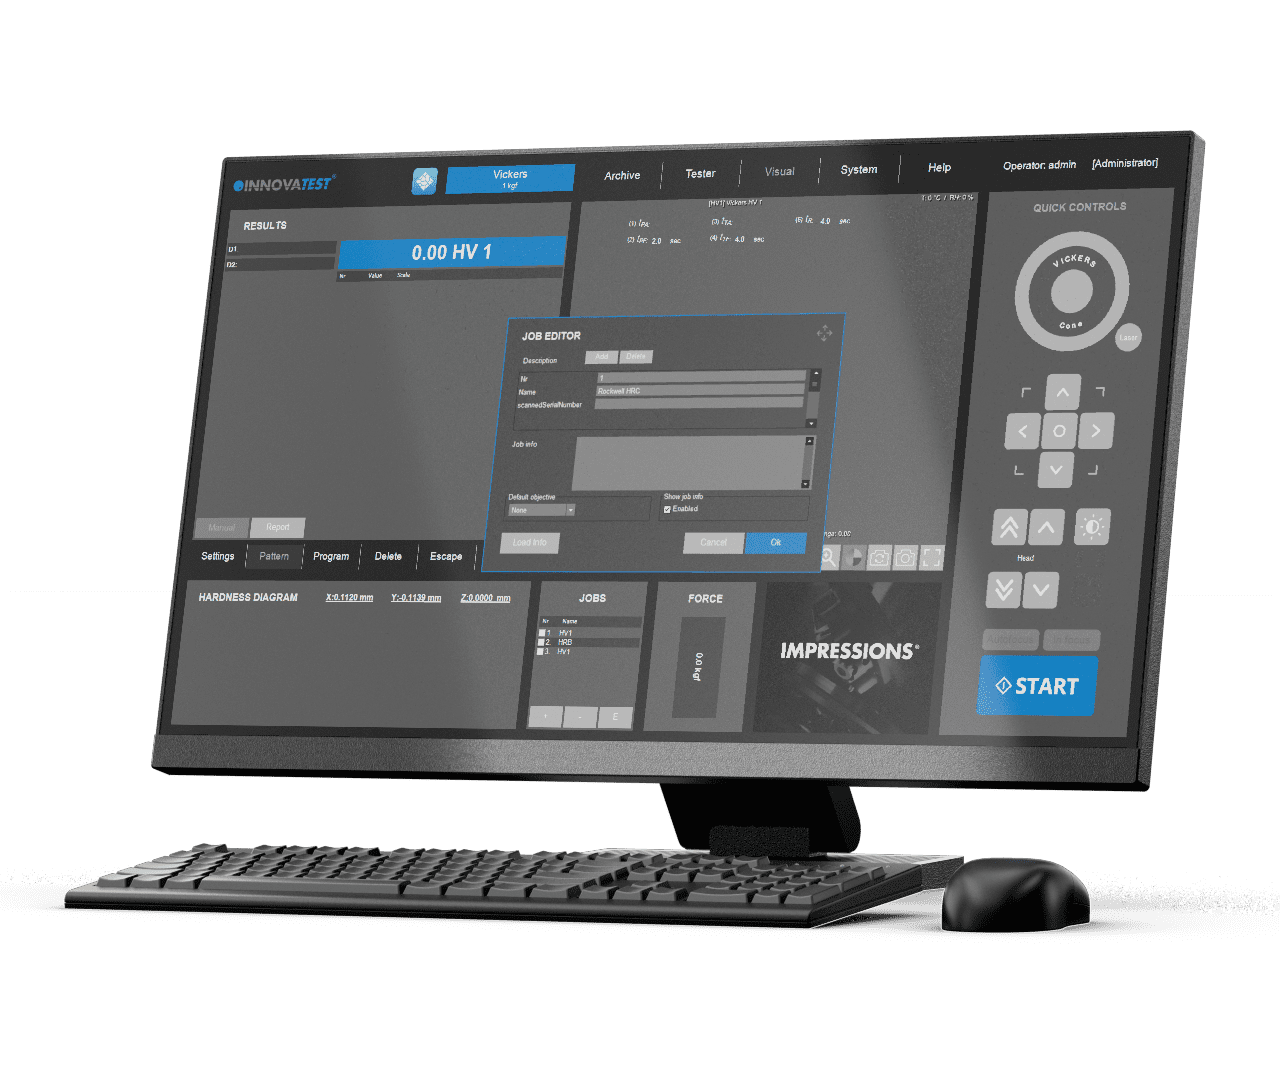
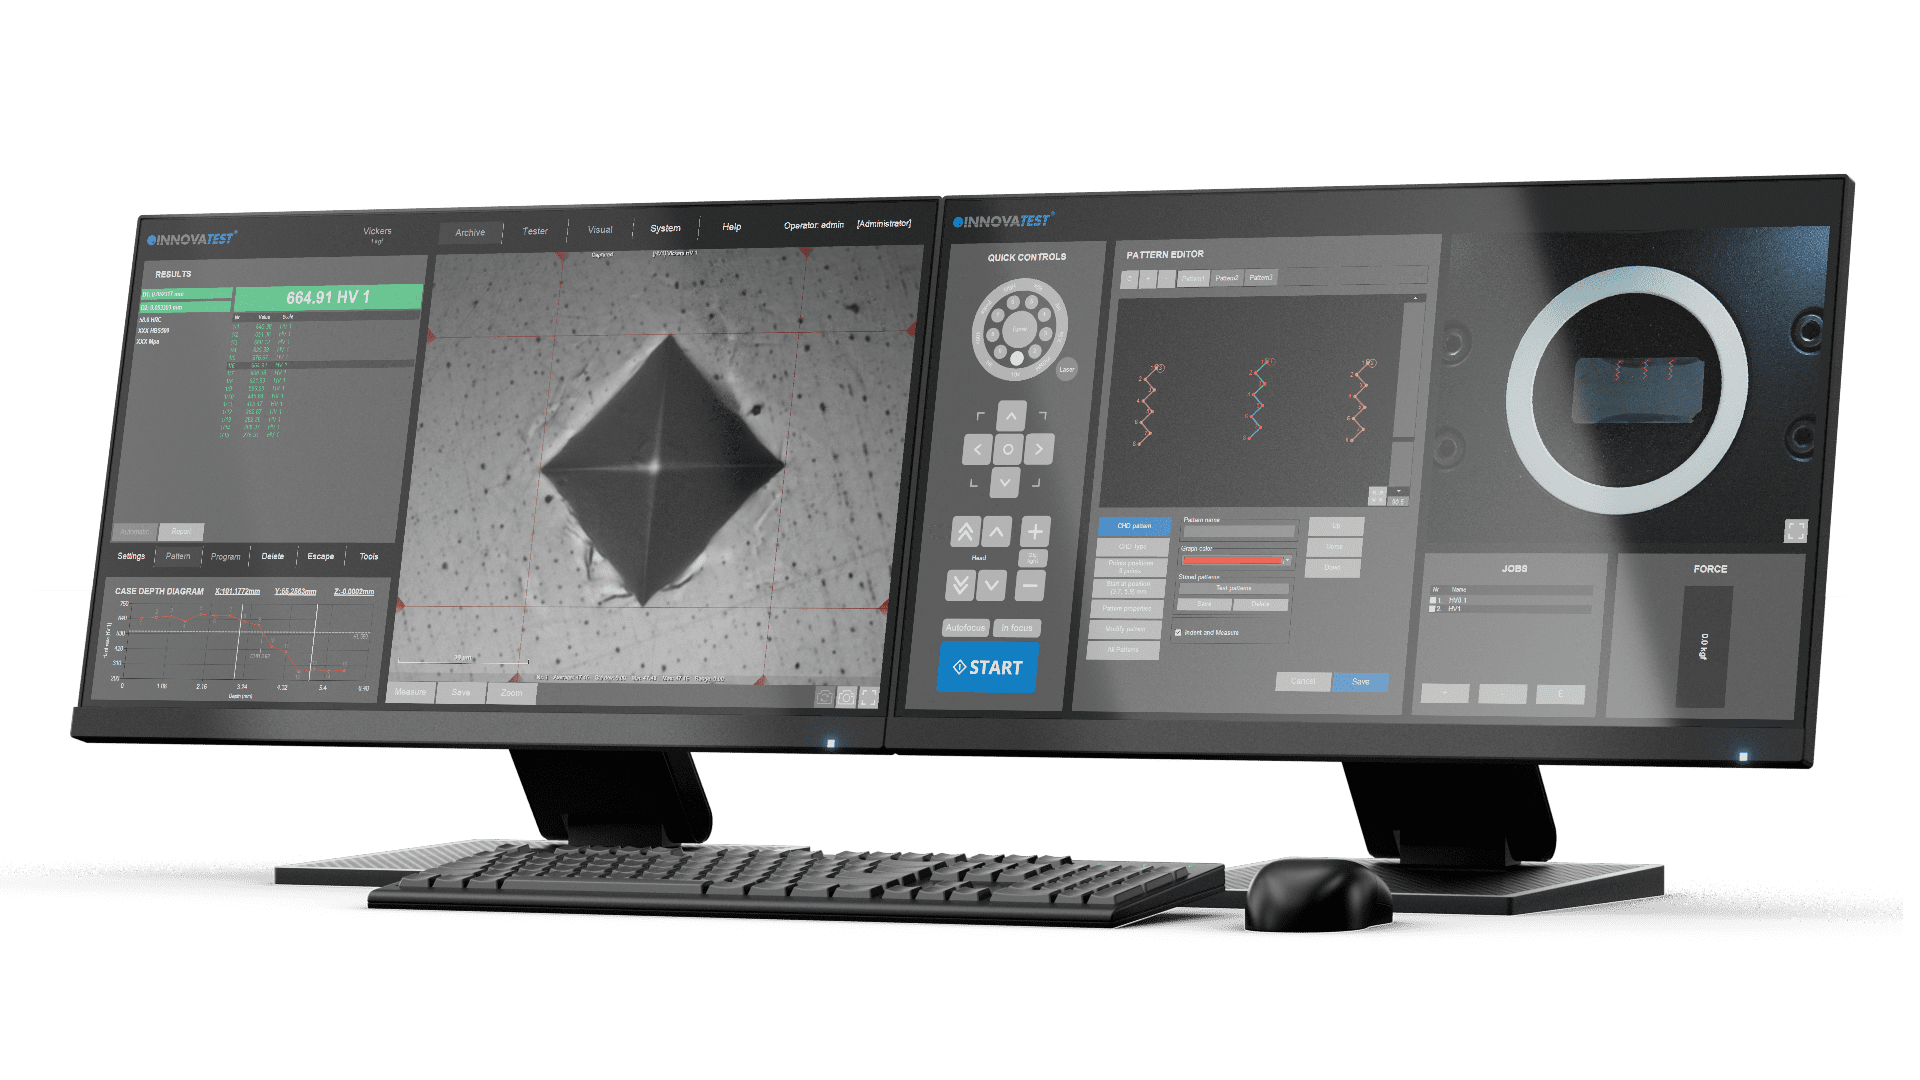
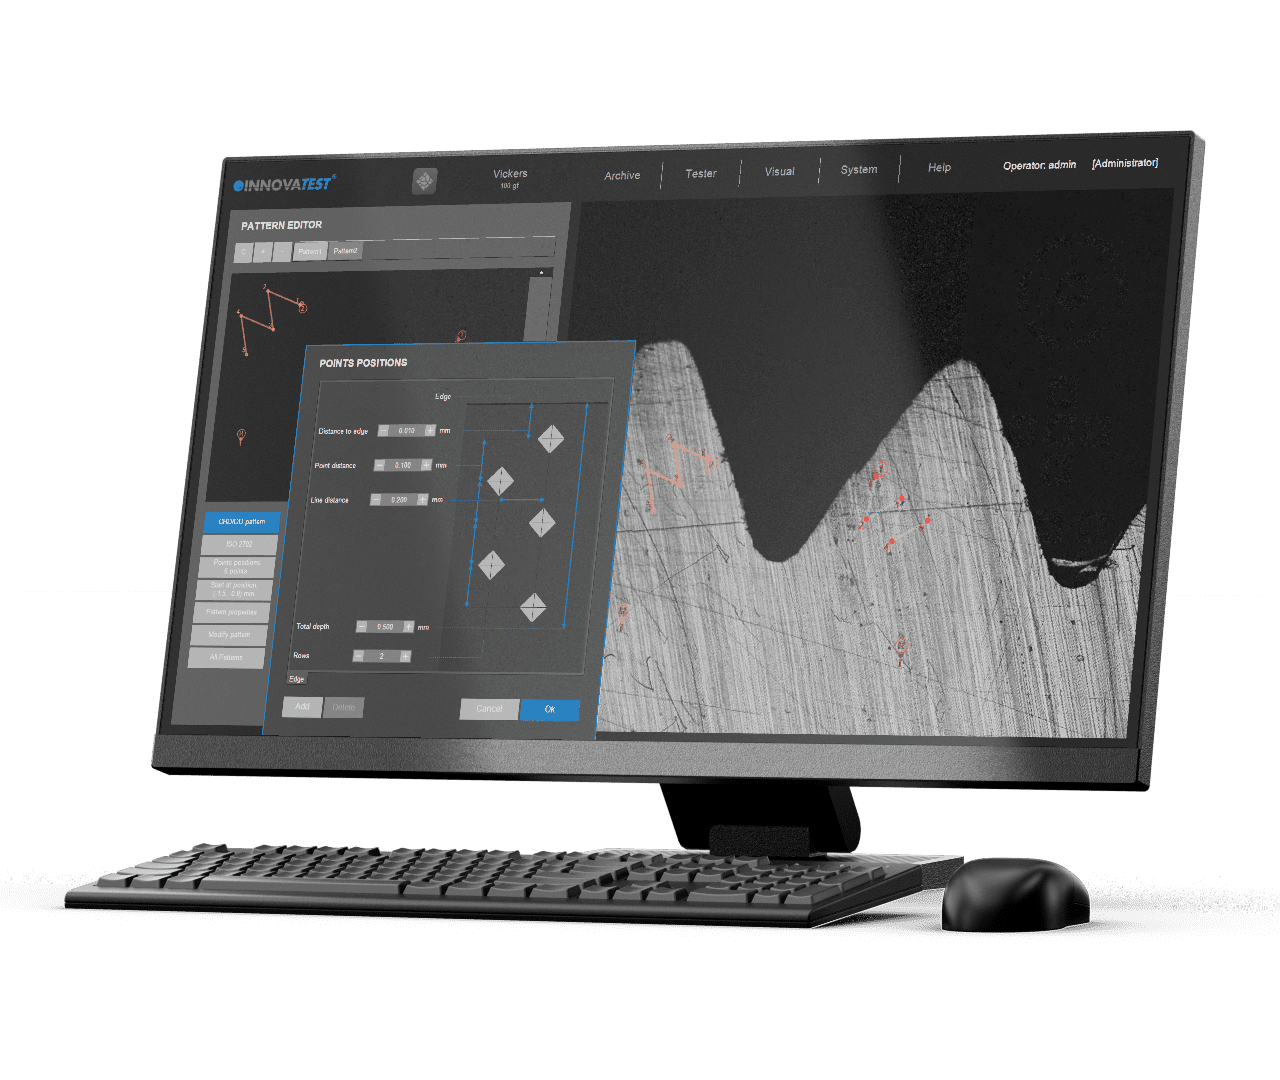
The IMPRESSIONS ™ template editor allows the user to create any number of measurement templates with a large number of variable settings. Create measurement templates with great precision and ease. Check the settings in the preview mode. Transfer templates from one measurement sample to another using the ‘drag and drop’ function. The technique of live view through the camera with zoom, without having to combine the image (image stitching).
Combine different templates and even different measuring forces into one program and run them fully automatically. All measuring points can be identified individually or according to customer specifications. The label is displayed both in the list of measurement results and in the review of test results and on the printout of results. Important function for analyzing samples at the end of the measurement and in the future to review previous measurements.
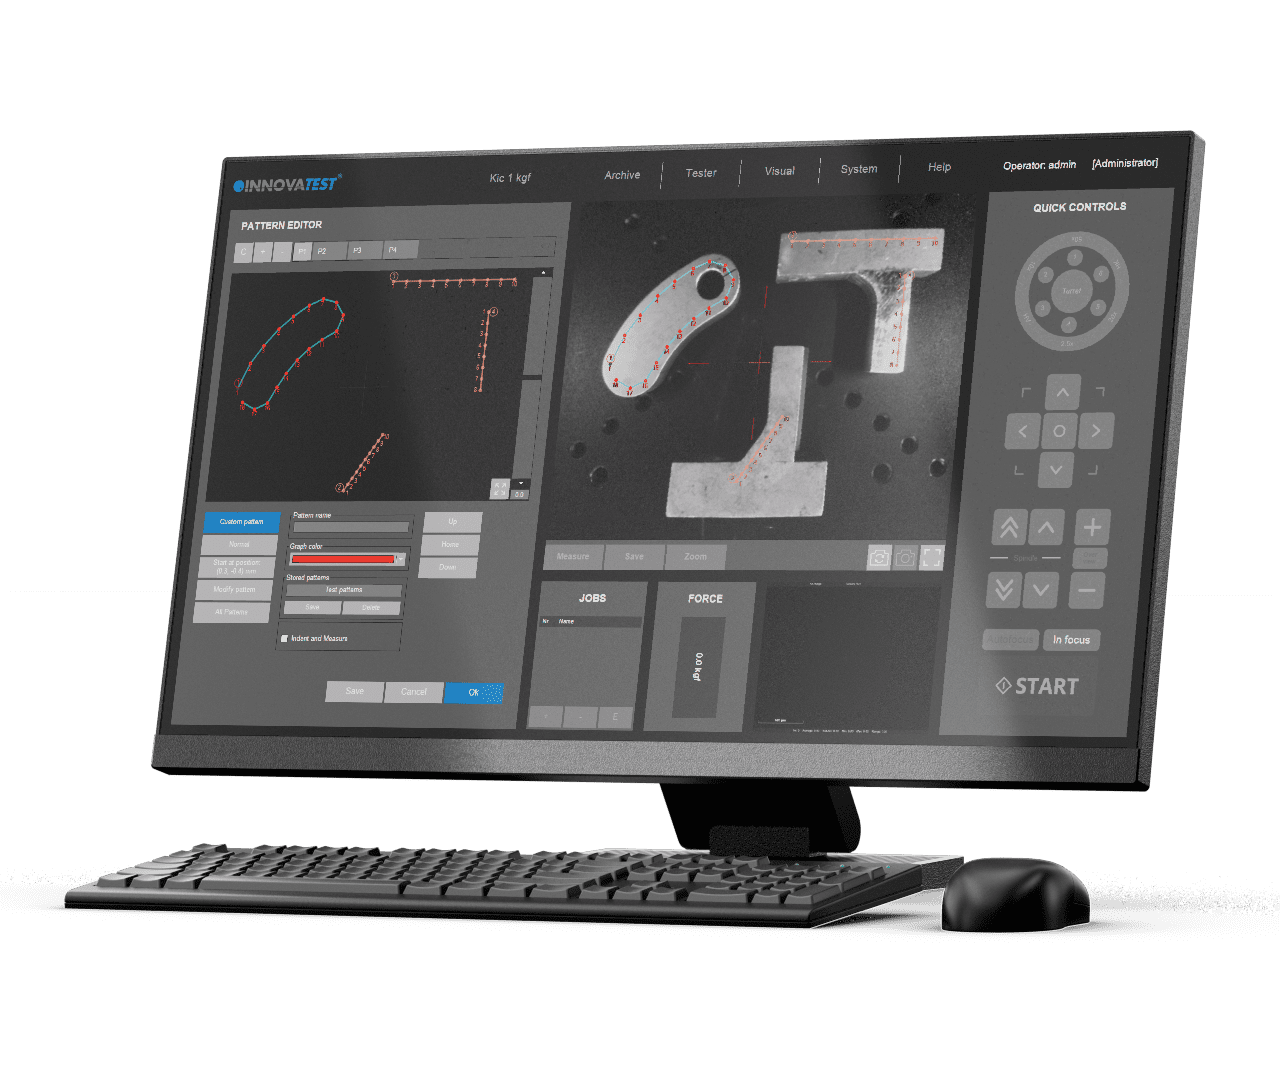
Once the viewing area needs to be larger than the zoom range, scanning and stitching can be selected to create a full stage overview or detailed images of larger areas of a test sample. These (detailed) images can then be used for reporting or defining the test pattern locations.
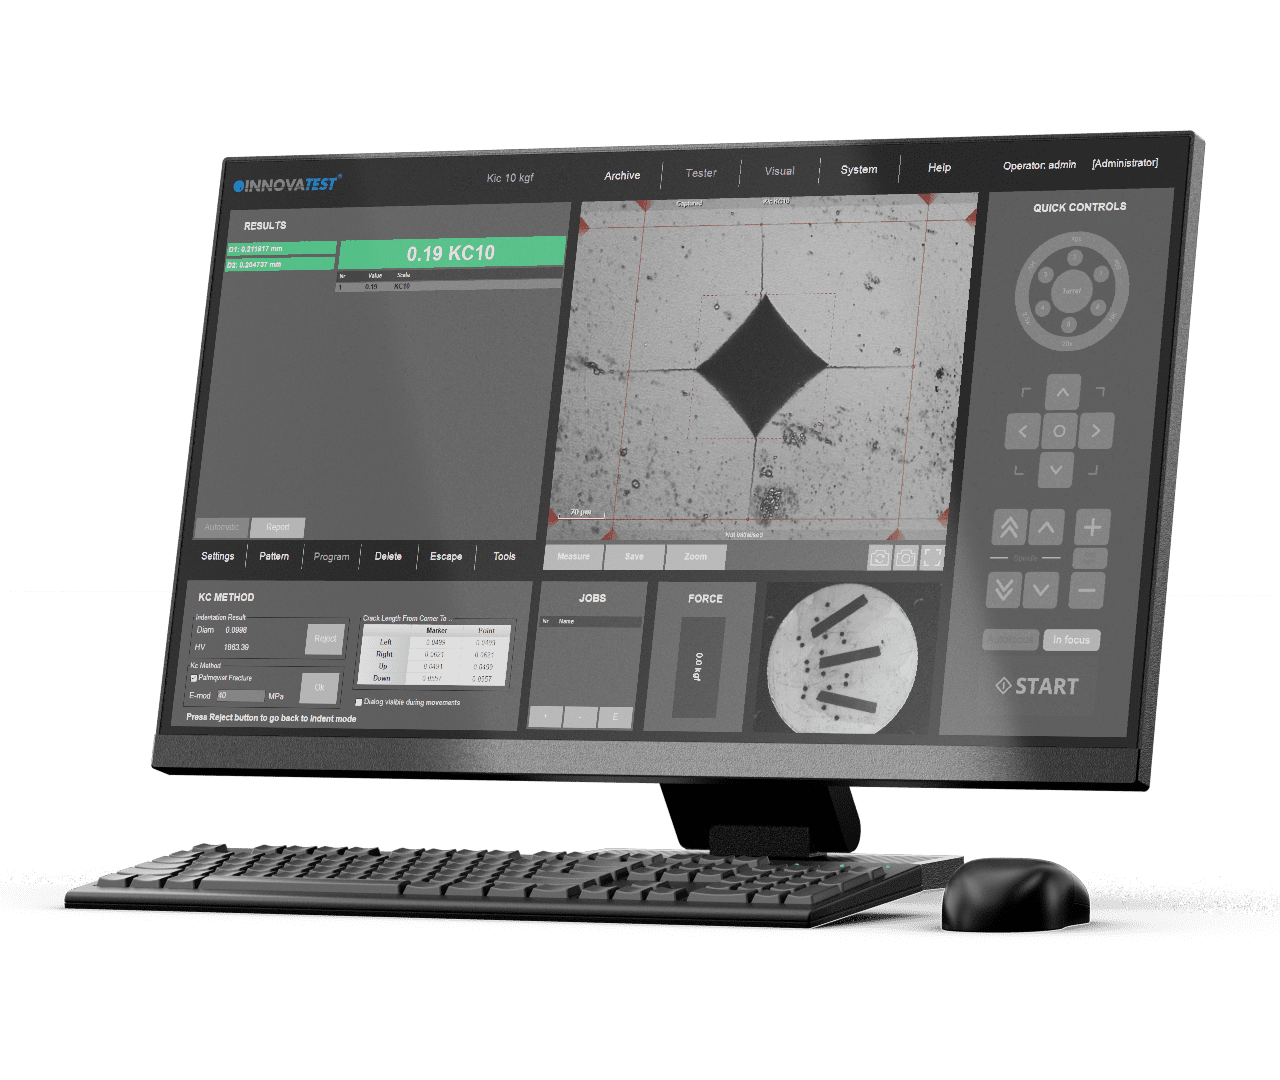
For those requiring more in-depth knowledge on materials behavior, wishing to study material fracture and fatigue, crack growth can be predicted and measured by using the Kic application. The software supports Kic crack detection under load with customized Kic result reporting. By way of one or both methods, Palmqvist or Median / Radial, fracture toughness is now a repeatable and reproducible test across multiple operators.
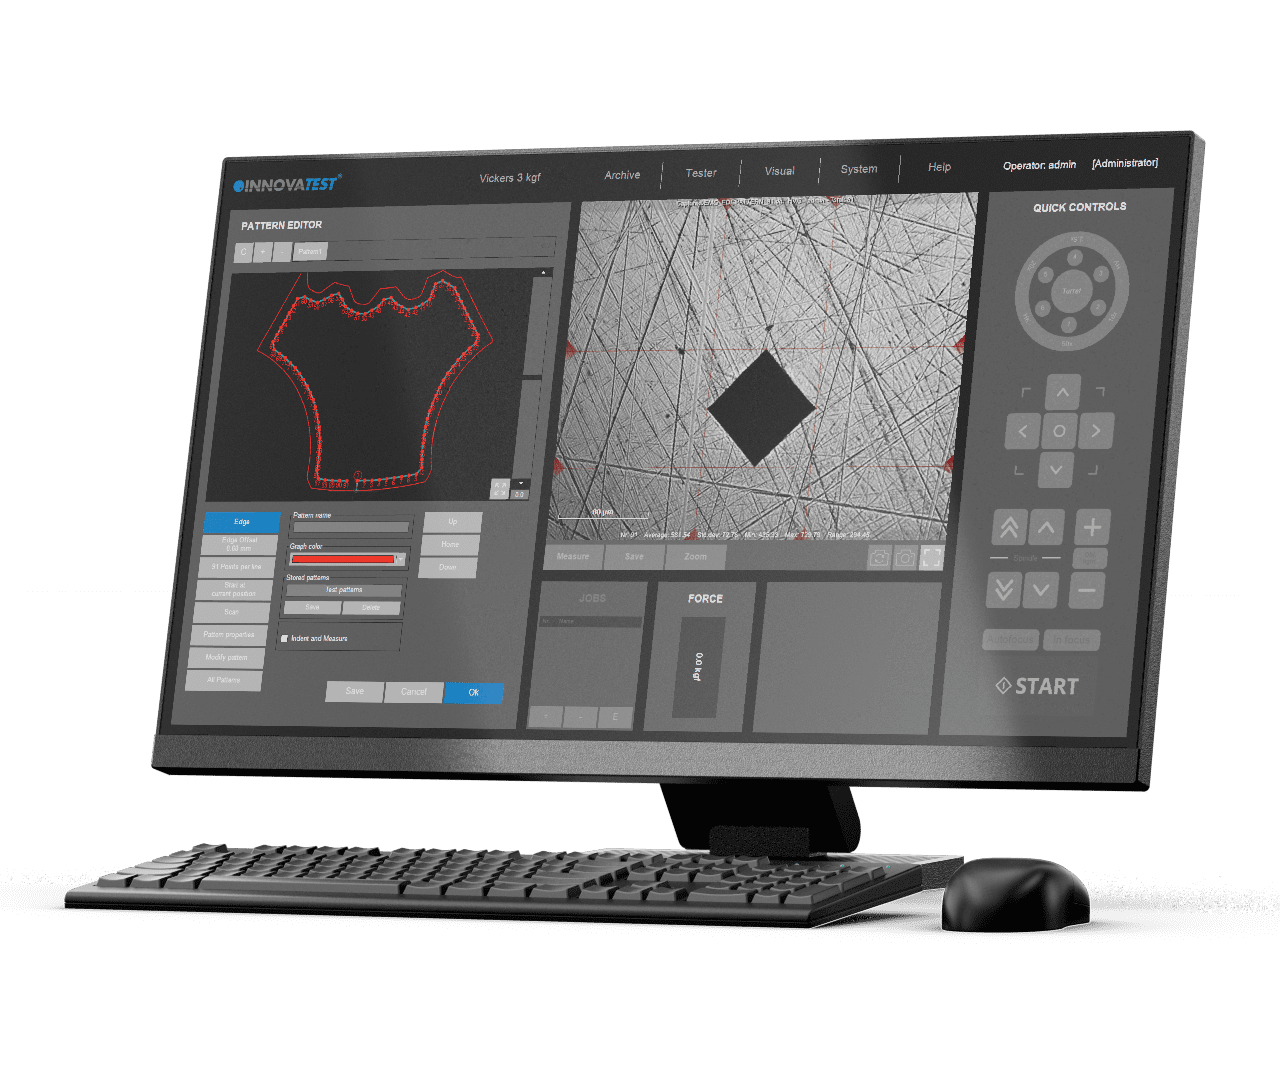
This application scans the entire outline (or partial) area of a sample. The function can be used with an objective by using the overview zoom camera for high speed scanning. The system scans the entire outline defined and stores all relevant data in the test program.
Subsequently, a limitless number of test points can be inserted into the scanned image, or be set at selected distances (offset), relative to the edge. This advanced feature enables the hardness testing procedure to be performed automically. An excellent feature to combine with 2D or 3D hardness mapping, also known as ‘’plane hardness chart’’.
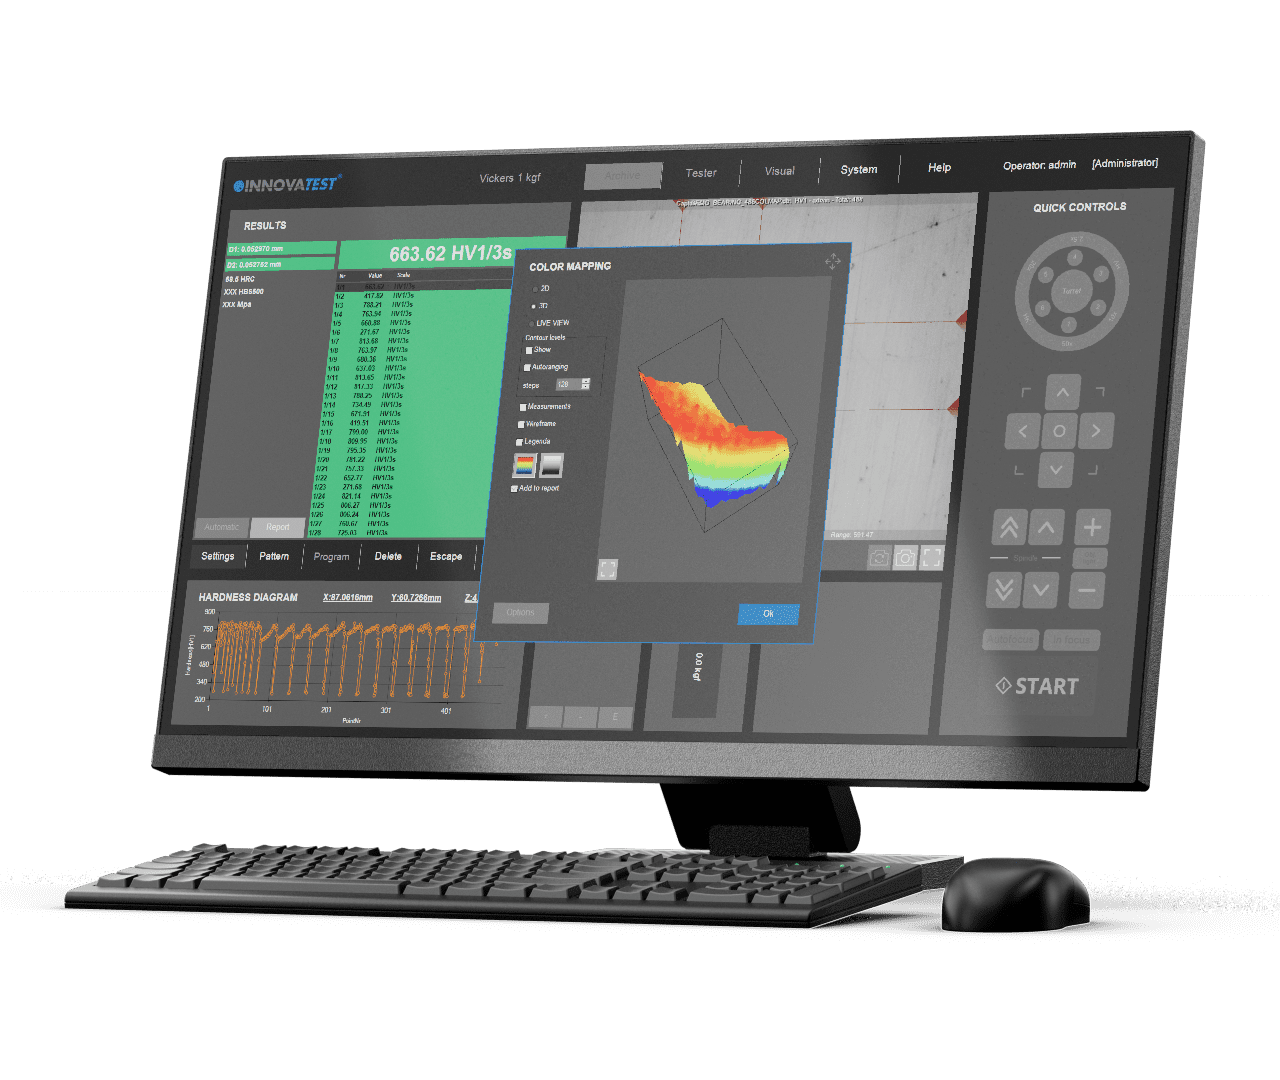
The application „Plane hardness chart“, is also referred to as Color Mapping happens to be the perfect tool for securing the detail of the effective hardness distribution over the total sample cross section of heat treated samples. An important feature in material exploration, weld testing or in damage analysis.
In addition to the option to display a 2D graphic diagram, the system can generate a 3D visual as well. 2D and 3D hardness charts are included in one application.
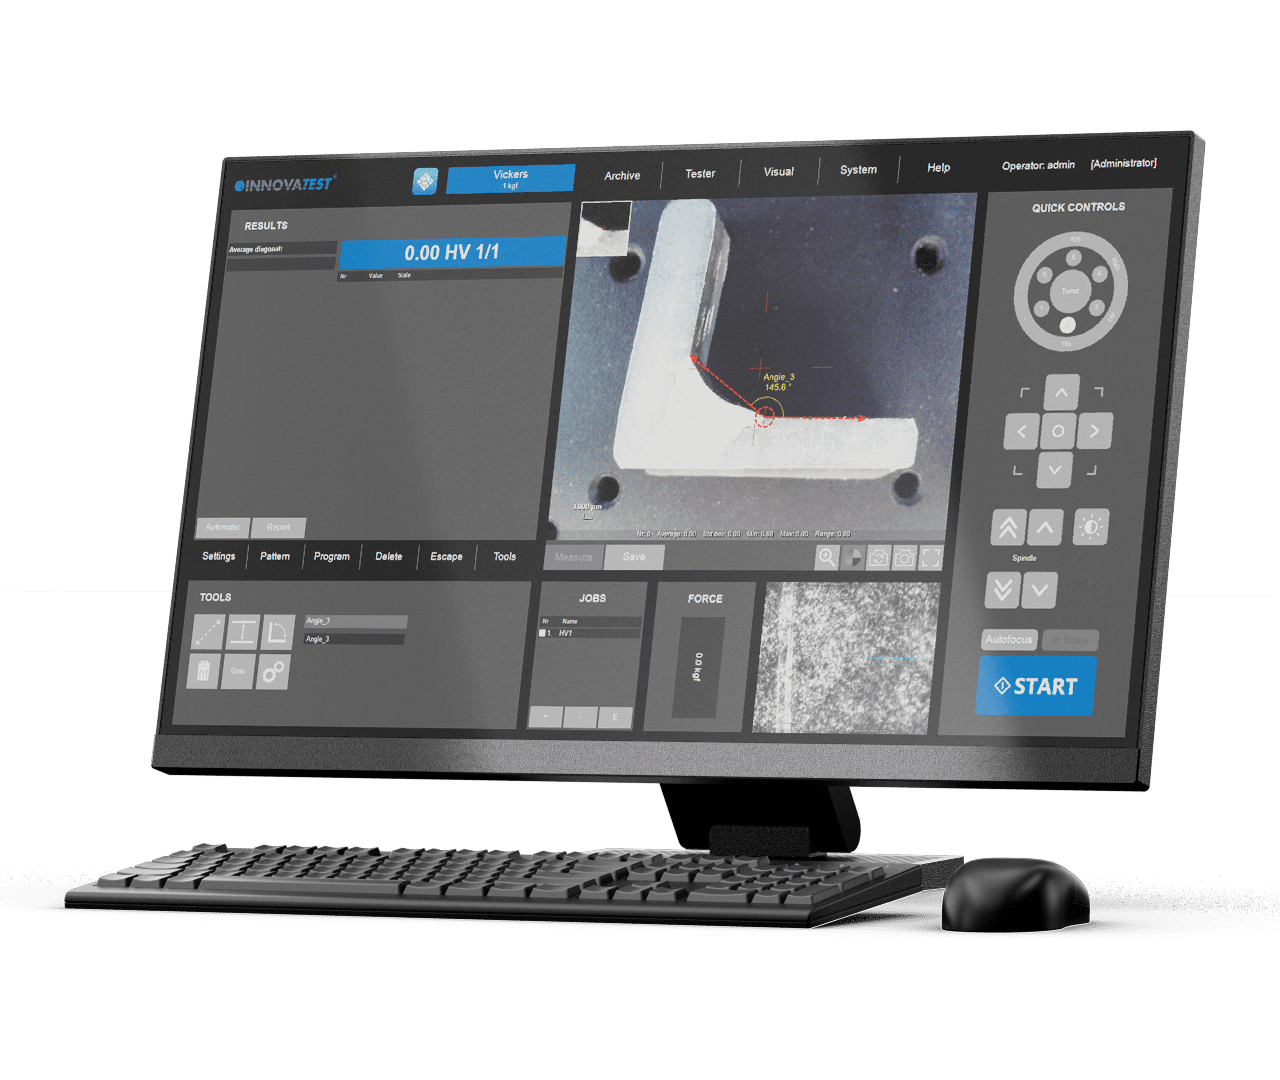
The unique in the industry, 15’’ portrait mode, capacitive touch screen, spacious enough for all possible applications. Dual screen: For demanding users, a second vertical 15’’ or 24’’ landscape screen is an option.
For educational purposes, schools, universities, a full HD projector can be connected to the HDMI supported outlet. With this many options in Hardware and Software configuration, yearly updates and on demand upgrades, IMPRESSIONS™ is truly the leading software in the industry.
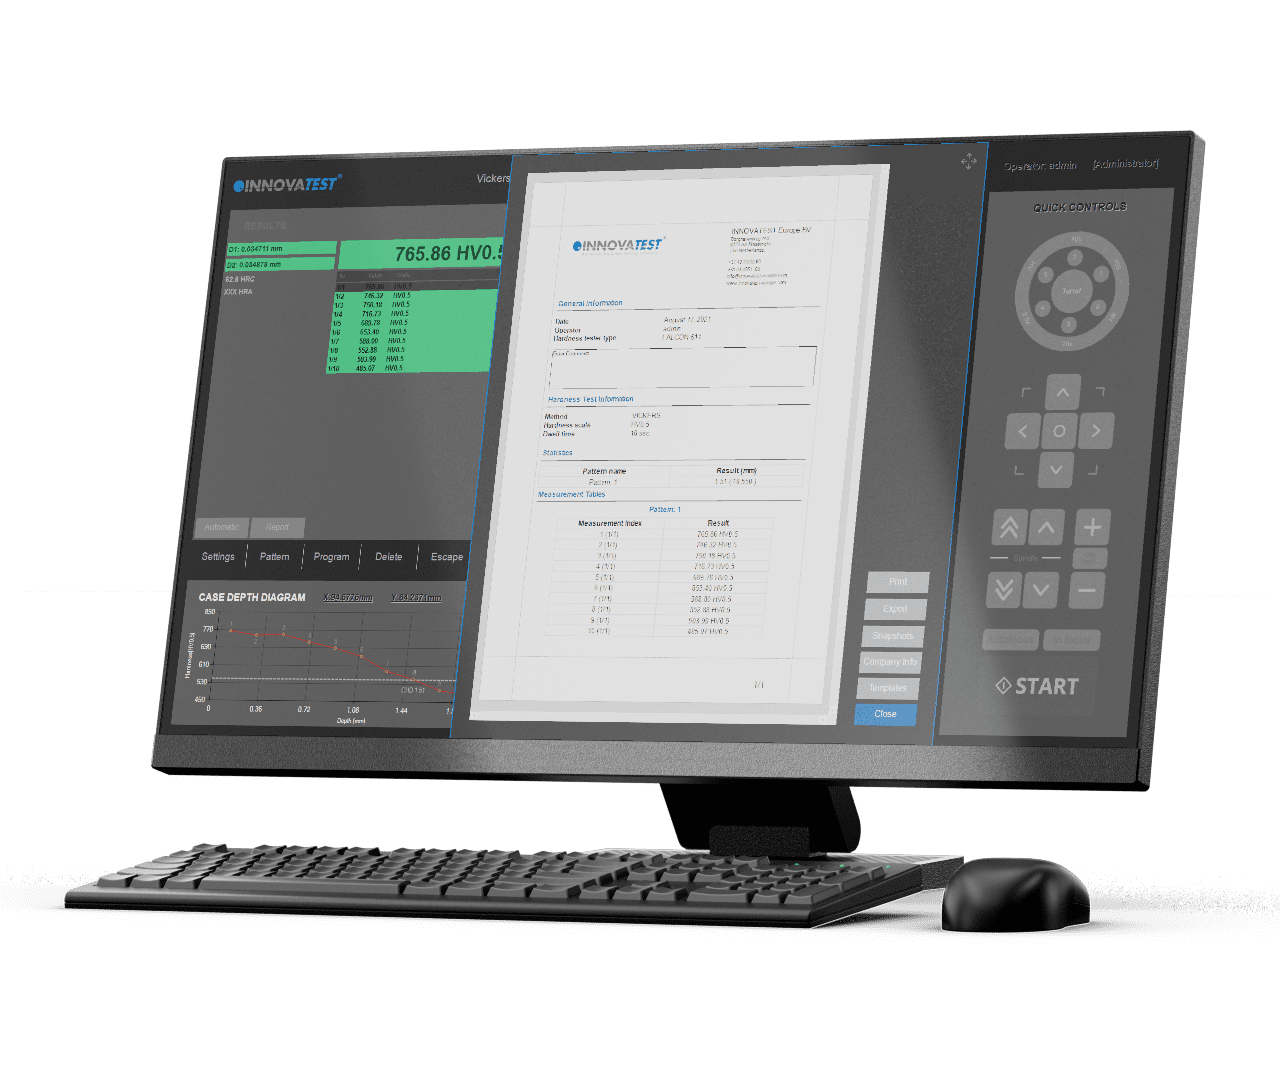
Imagine having a report created for you that includes: Your company name, address, contact information, labeled results related to patterns or sequential, pictures of your optical measurements, stitched images, notes section for each result or pictures, rendition of the pattern performed, overview picture of your pattern on your sample, full statistics, summary of your results, go no-go results, Pass or fail…all that information or having the ability to only have what you need reported, we call this our Report Configurator. You decide how much or how little you report by PDF or laser printer. We even keep it simple by choosing export to CSV file, to a thumb drive or network file location. Data management at its best!
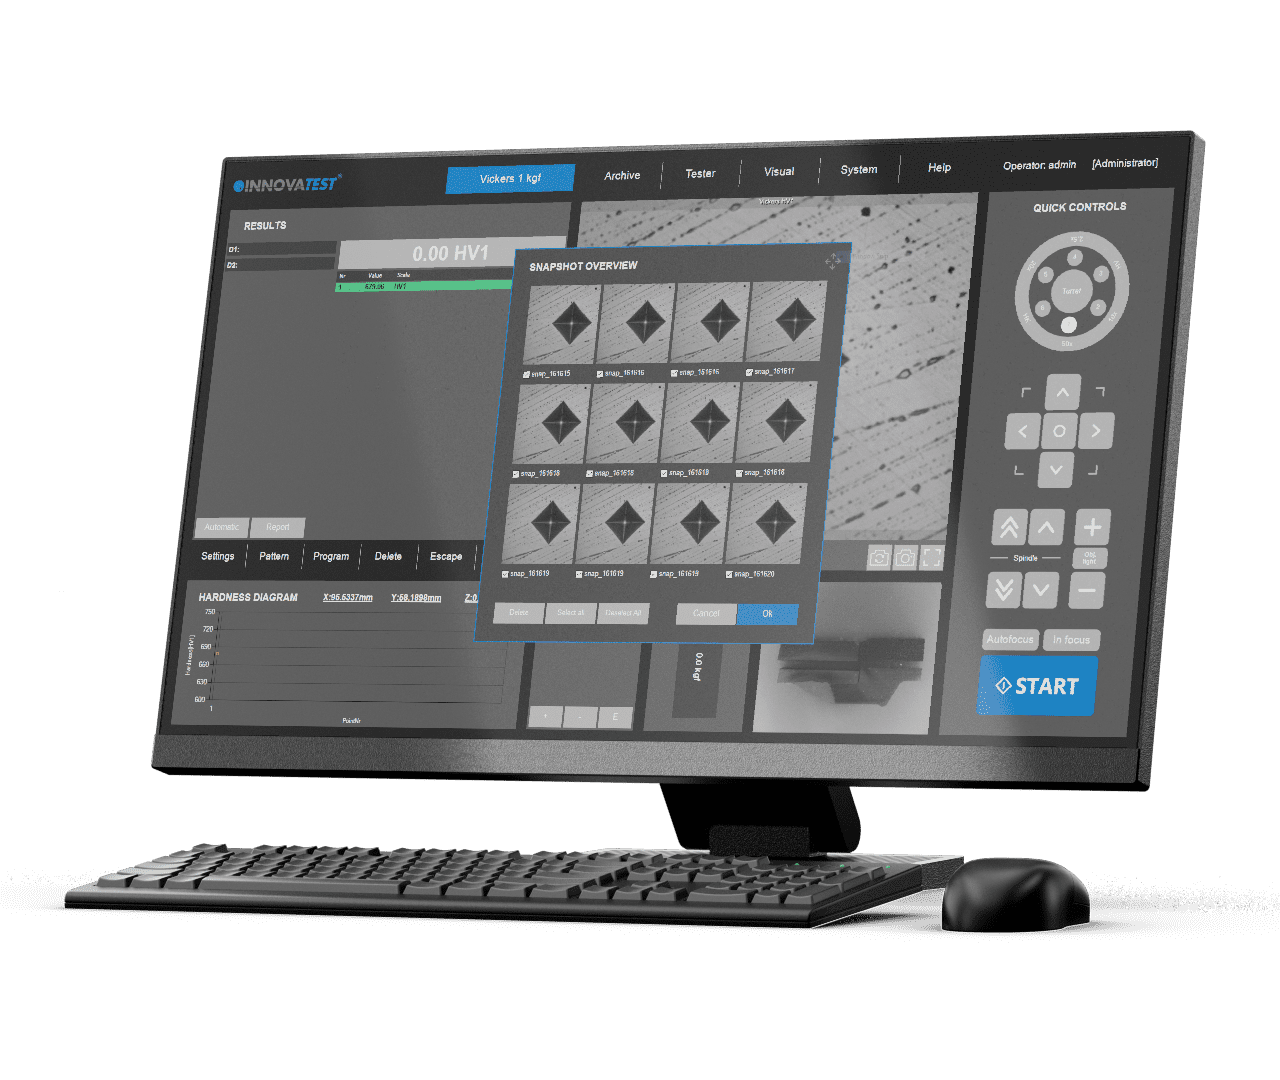
This handy function in IMPRESSIONS™ allows you to make screen captures of the viewing area by way of objective view and/or Overview camera. It gives the opportunity to store such images with comments or to paste them into the report generator for further processing.
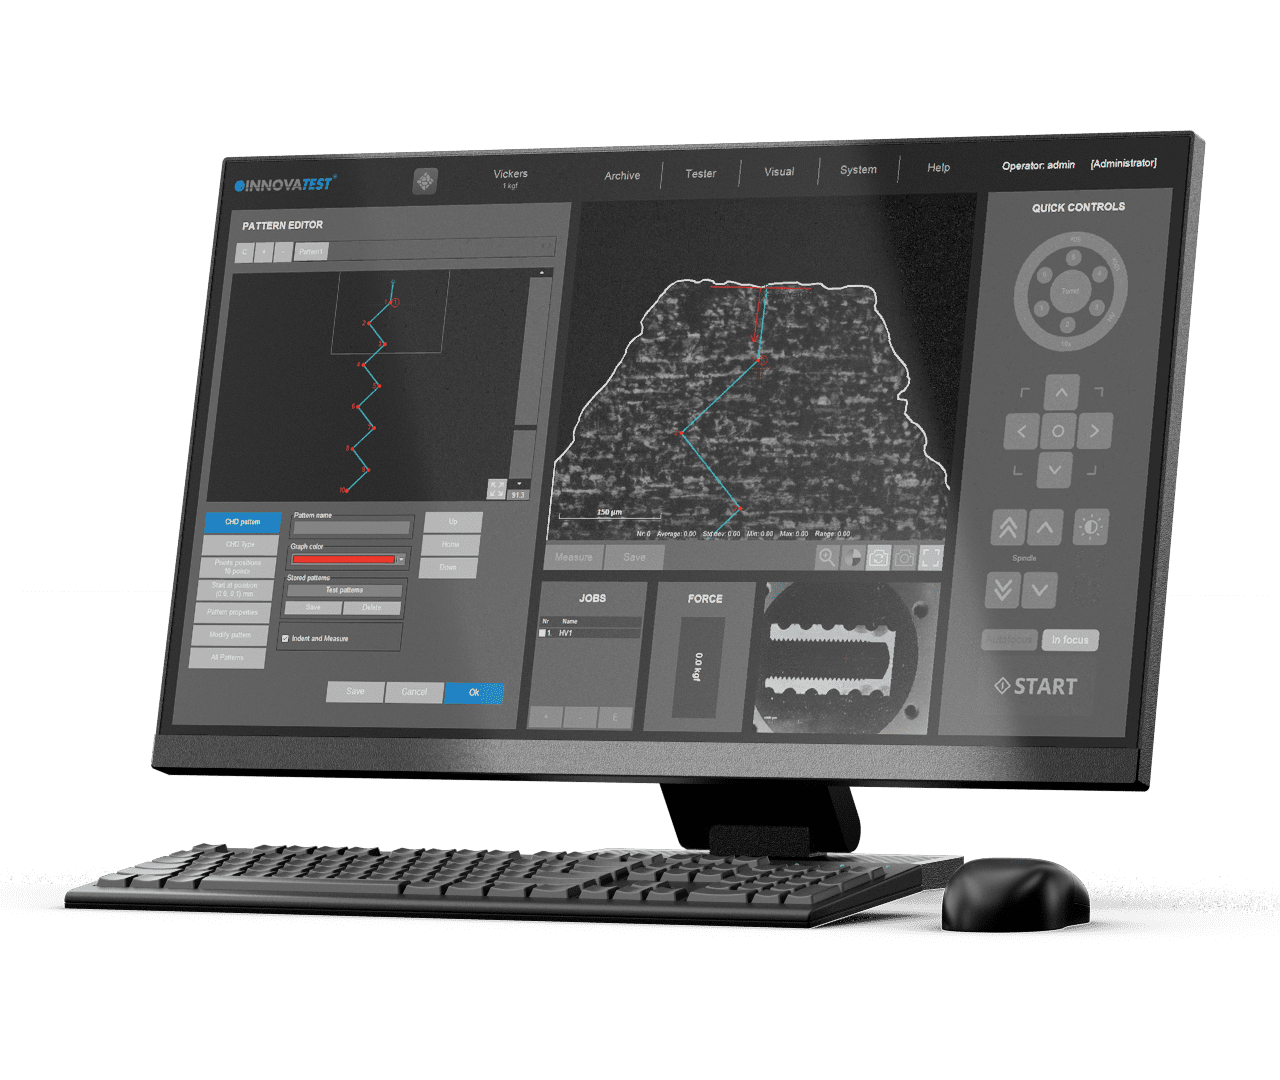
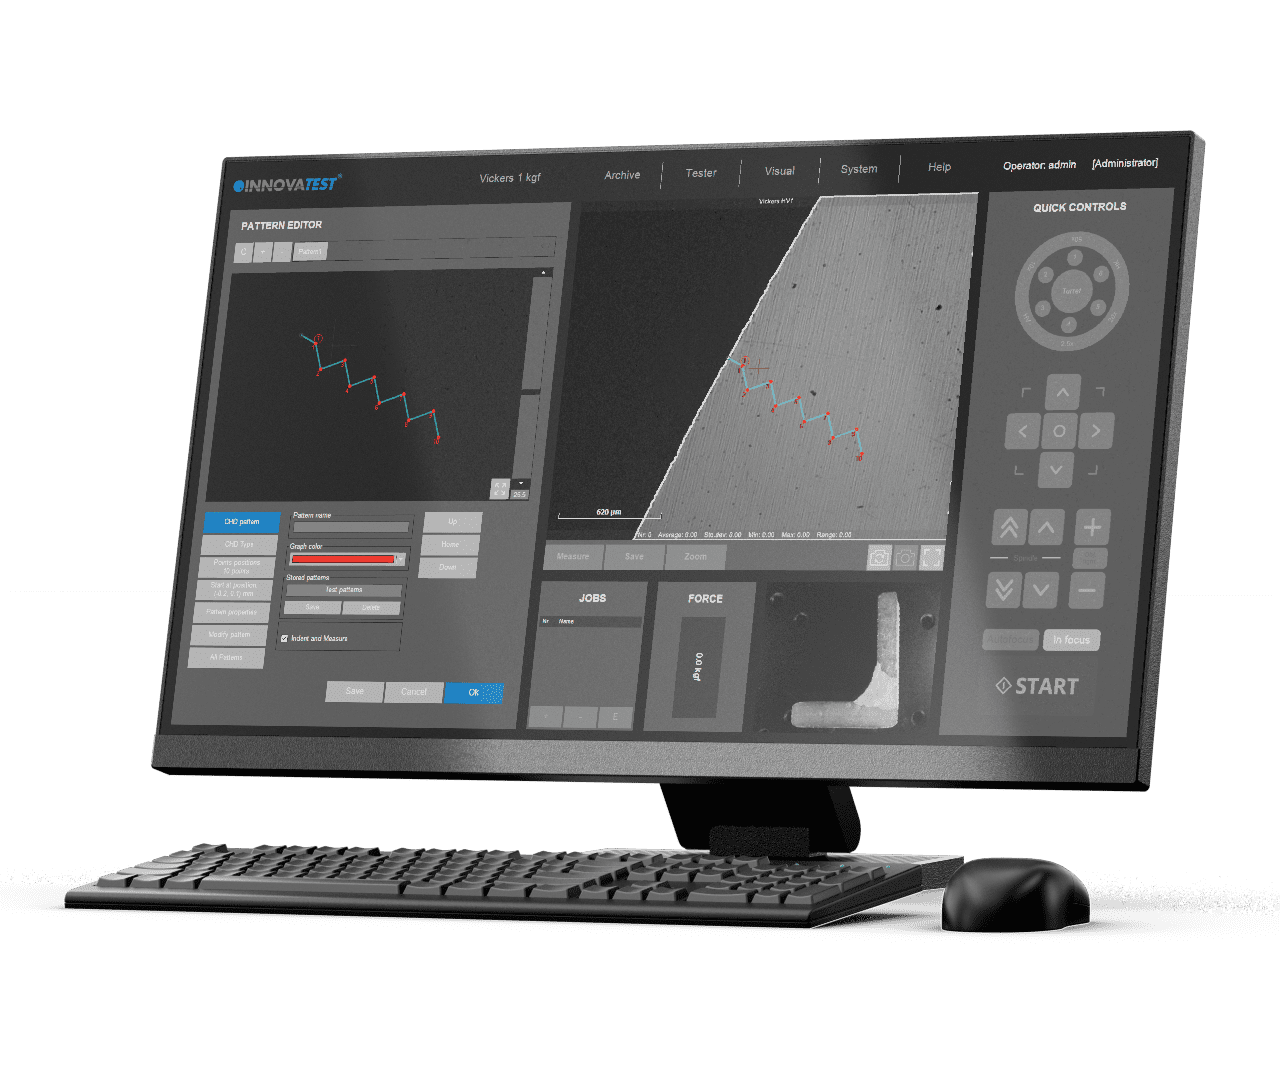
Technology that automatically or at a mouse click recognizes the edge of your sample. This helps to determine and fix the desired starting position for CHD or other pattern testing jobs.
This feature will show the depth of the indenter in the material while performing a Rockwell measurement. The force/depth diagram contains the visualisation of the relation between indenter depth and the force applied.
A specialized software tool of IMPRESSIONS™ allows you to set up and conduct fully automatic testing as per ISO 898-1 for screw thread measurement of (de)-carbonized part. Report Generator is enhanced with reporting features for this application.
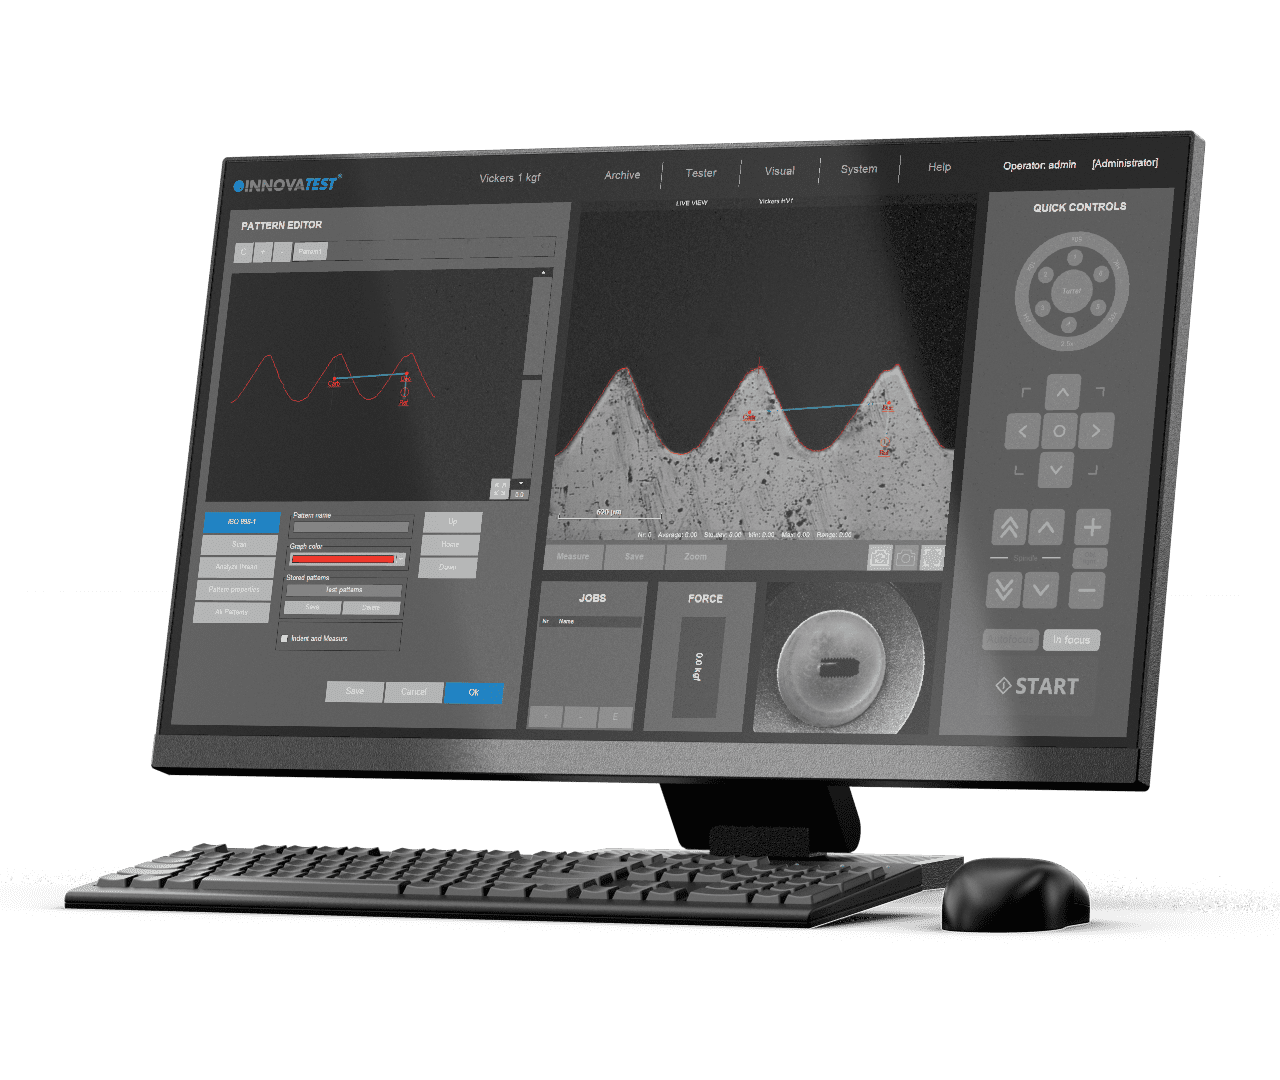
A specialized software tool of IMPRESSIONS™ allows you to set up and conduct fully automatic testing as per ISO 2702 for screw thread measurement of (de)-carbonized part. Report Generator is enhanced with reporting features for this application.
For repeating jobs, IMPRESSIONS™ utilizes the option of setting up and storing custom test programs. For each task, a ‘’job’’ can be created. All application specific parameters, like hardness scale, force, dwell-time, pattern, conversion and the report template are stored in the same program. User Level Management allows all your parameters to be protected from inadvertent alteration escalating your repeatability and reproducibility by operating your testing by your set programs for testing.
Manual positioning of filar lines is no longer required. IMPRESSIONS™ refined measurement algorithms detect indents even on very poor or scratched surfaces and measure the relevant indent dimensions according to standards. Stay in control by switching to manual measure mode and have the option of adjusting measurements by touching the screen or using the mouse.
Filar lines can be colored to give the best contrast against the specimen’s surface. To assure that measurements meet relevant standards on symmetry, enable the automatic indent check. All hardness values can be converted to other scales according to ISO 18265, ISO 50150, ASTM E140.
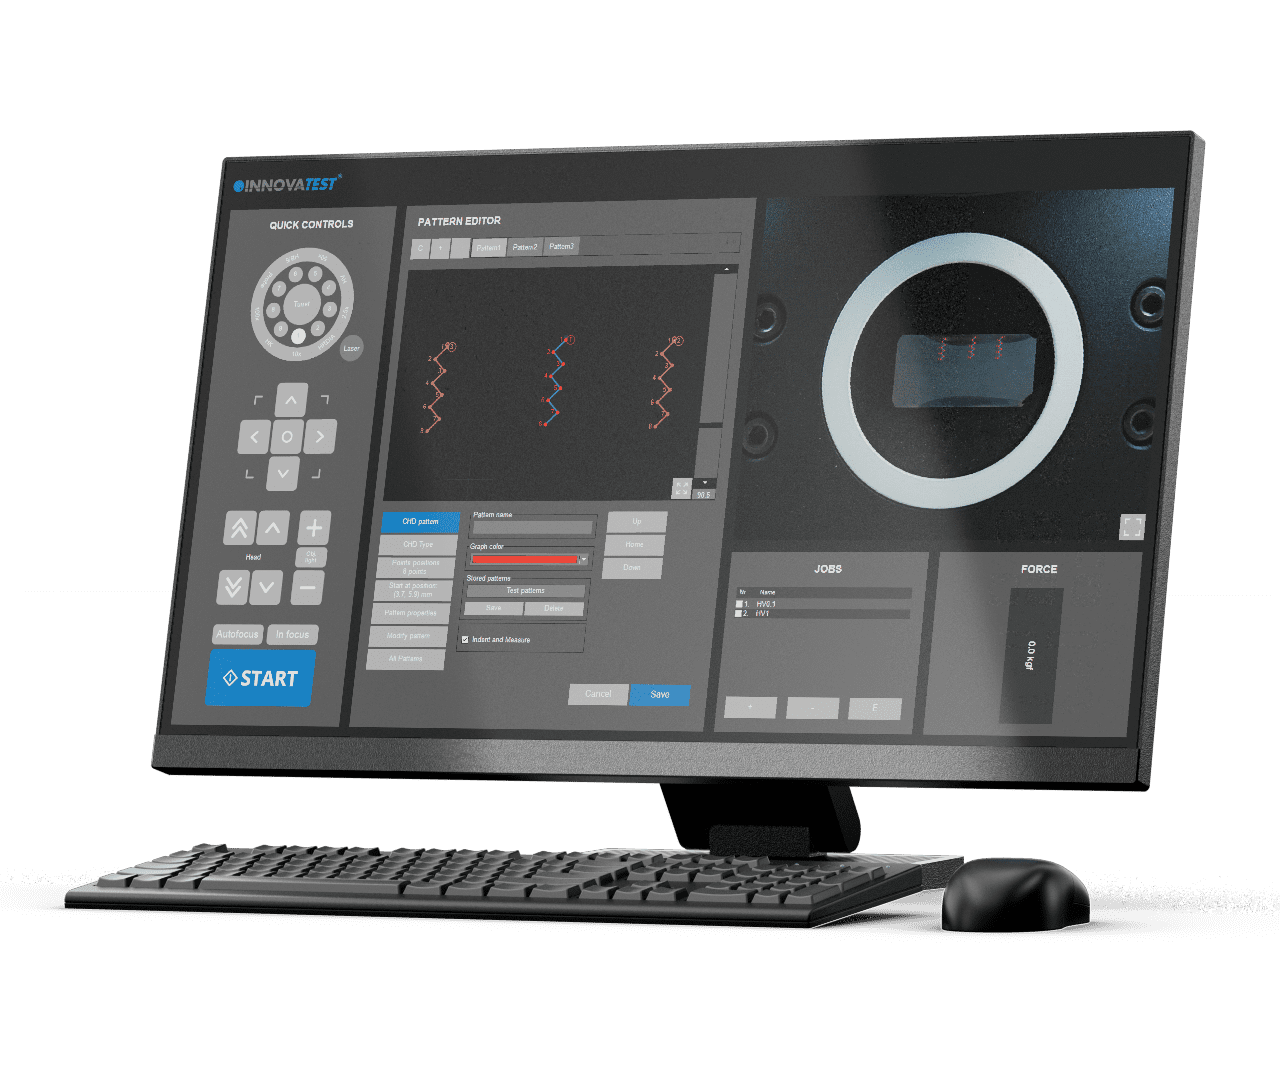
How do you increase throughput in your lab? Make the most common testing design as easy to set up as it is to perform automatically and still adhere to the applicable standards. CHD/SHD/NHD testing can be started directly from the surface view or from the overview. Additional core points of hardness can be defined separately for NHD measurements.
The distances of test points are automatically set to a minimum distance, following the standard, to assure correct testing is conducted. Time saving test mode “complete all indentations – then evaluate” and “auto-stop” to complete test series as soon as the lower hardness limit has been reached. Report Generator is enhanced with reporting features for this application.
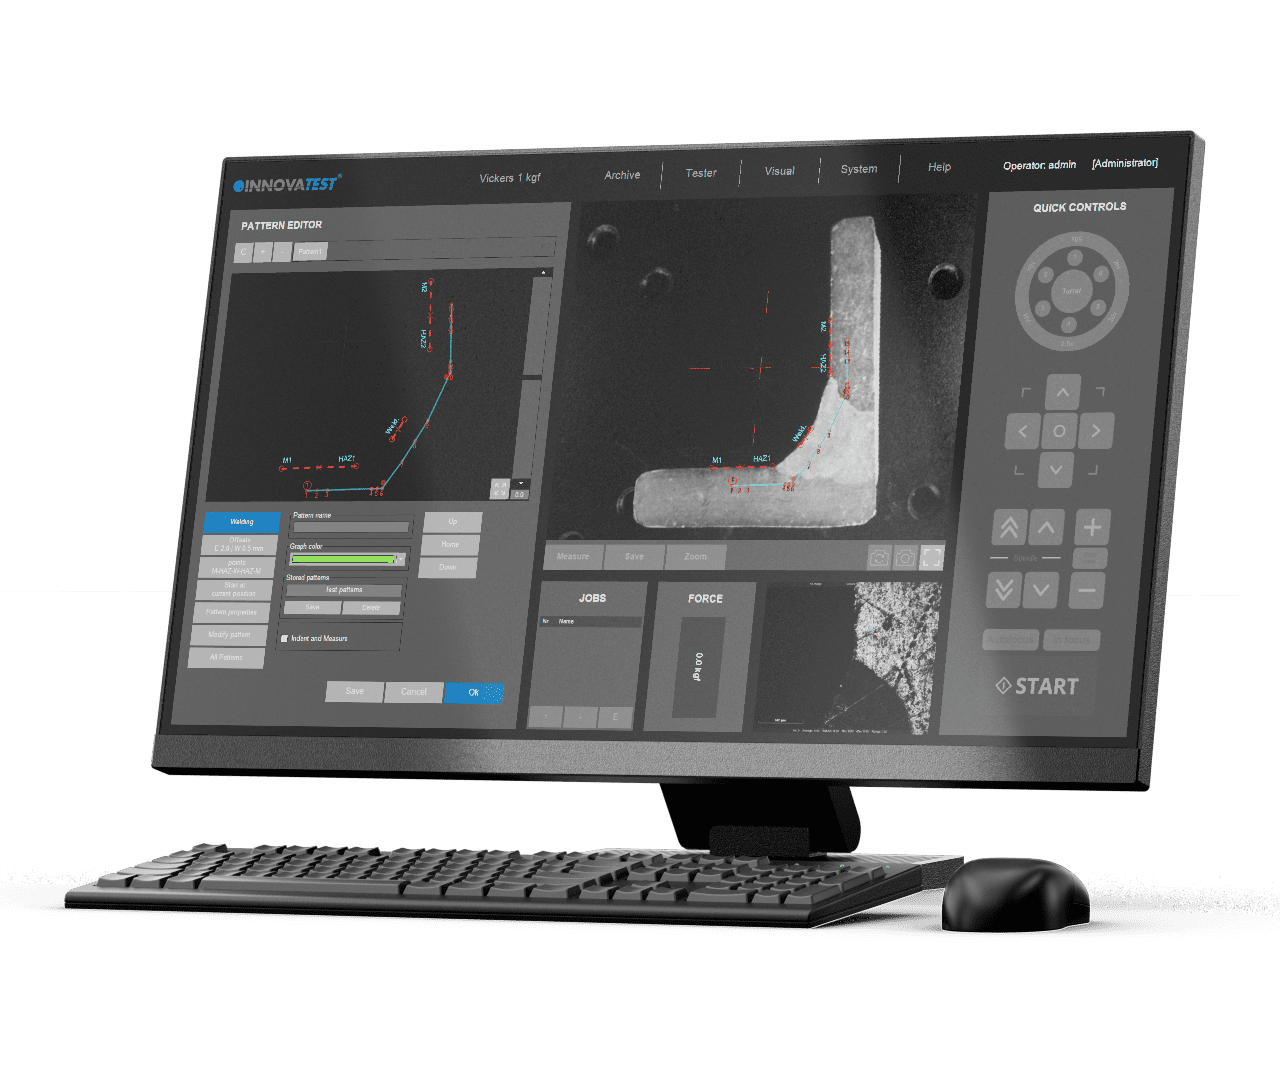
This especially developed tool enables you to conduct hardness testing on welded parts or segments according to ISO standard. Setting up the pattern according to the requirements becomes ‘’easy-to-do’’, due to pre-set test points in the different zones of the weld and automatic correlation between test points. The system will run a fully automatic test procedure and display and record the results accordingly. Report Generator is enhanced with reporting features for this application.
This application is developed in close cooperation with special manufacturers of ammunition shells and casings. It allows single and multiple shell/casing testing according to the requirements in the industry.
The fully automatic test procedure generates a detailed report, providing single readings and statistics with Go/No Go indication. This further includes sophisticated settings for remeasurement. For particular details please contact our sales department.
